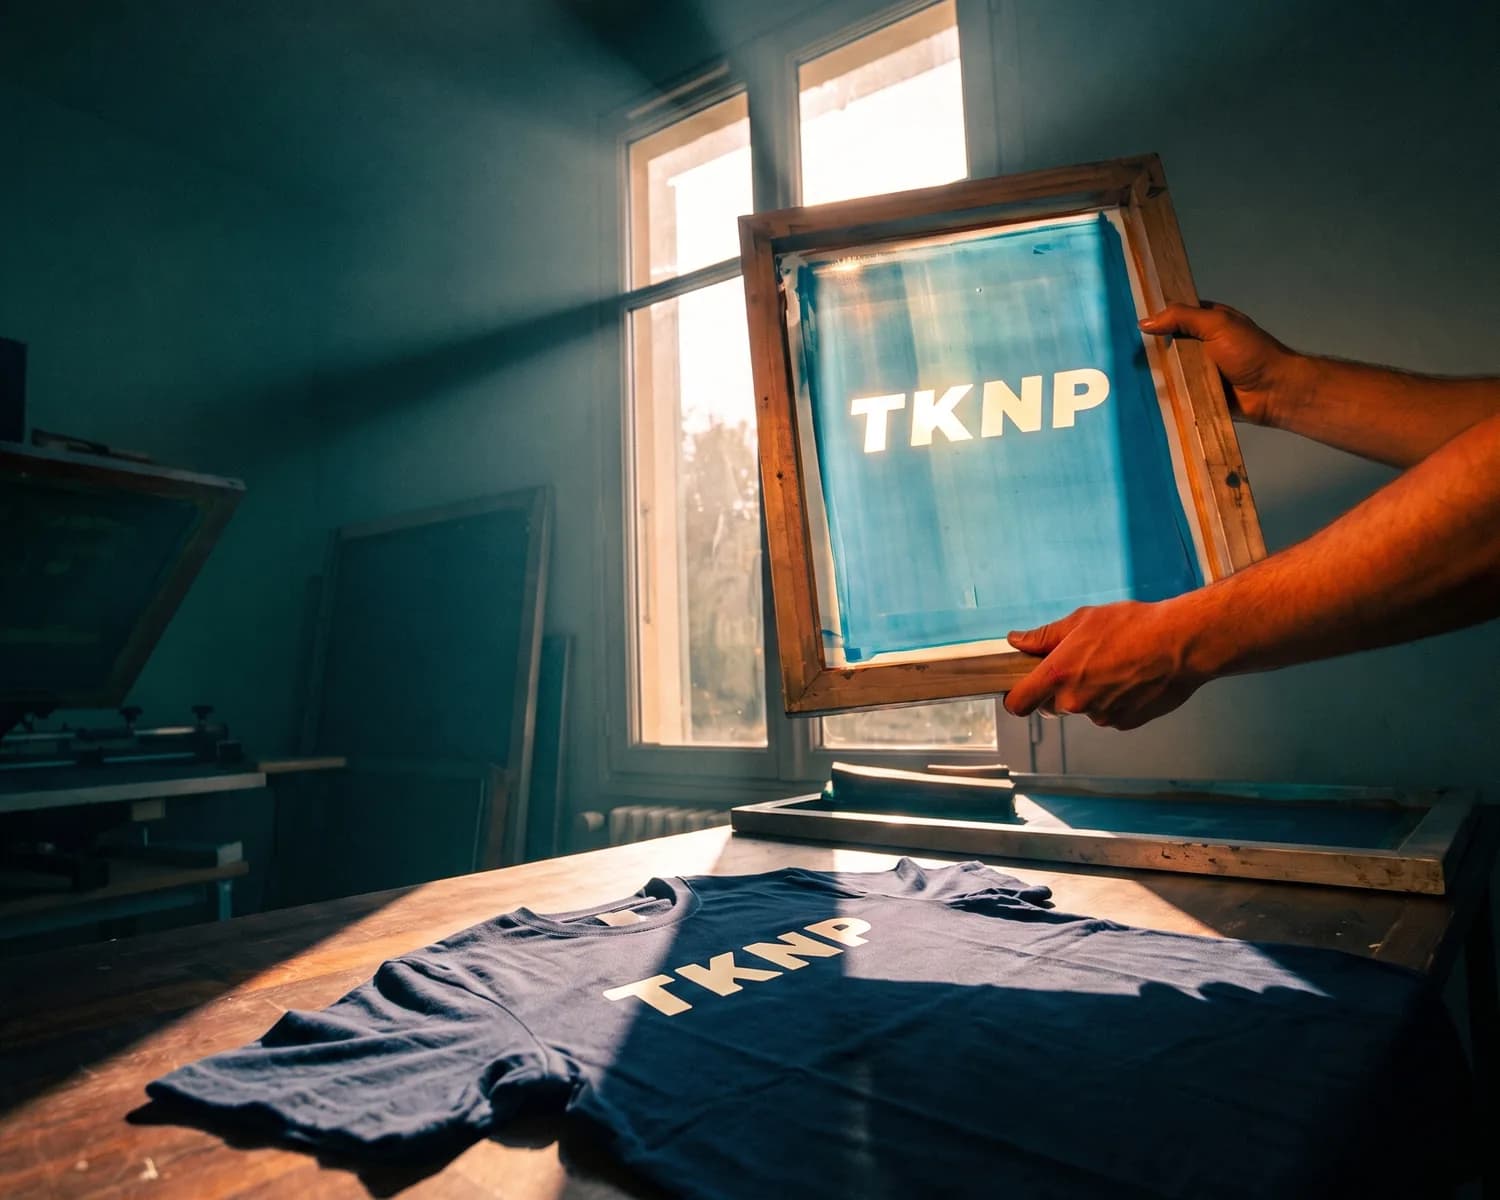
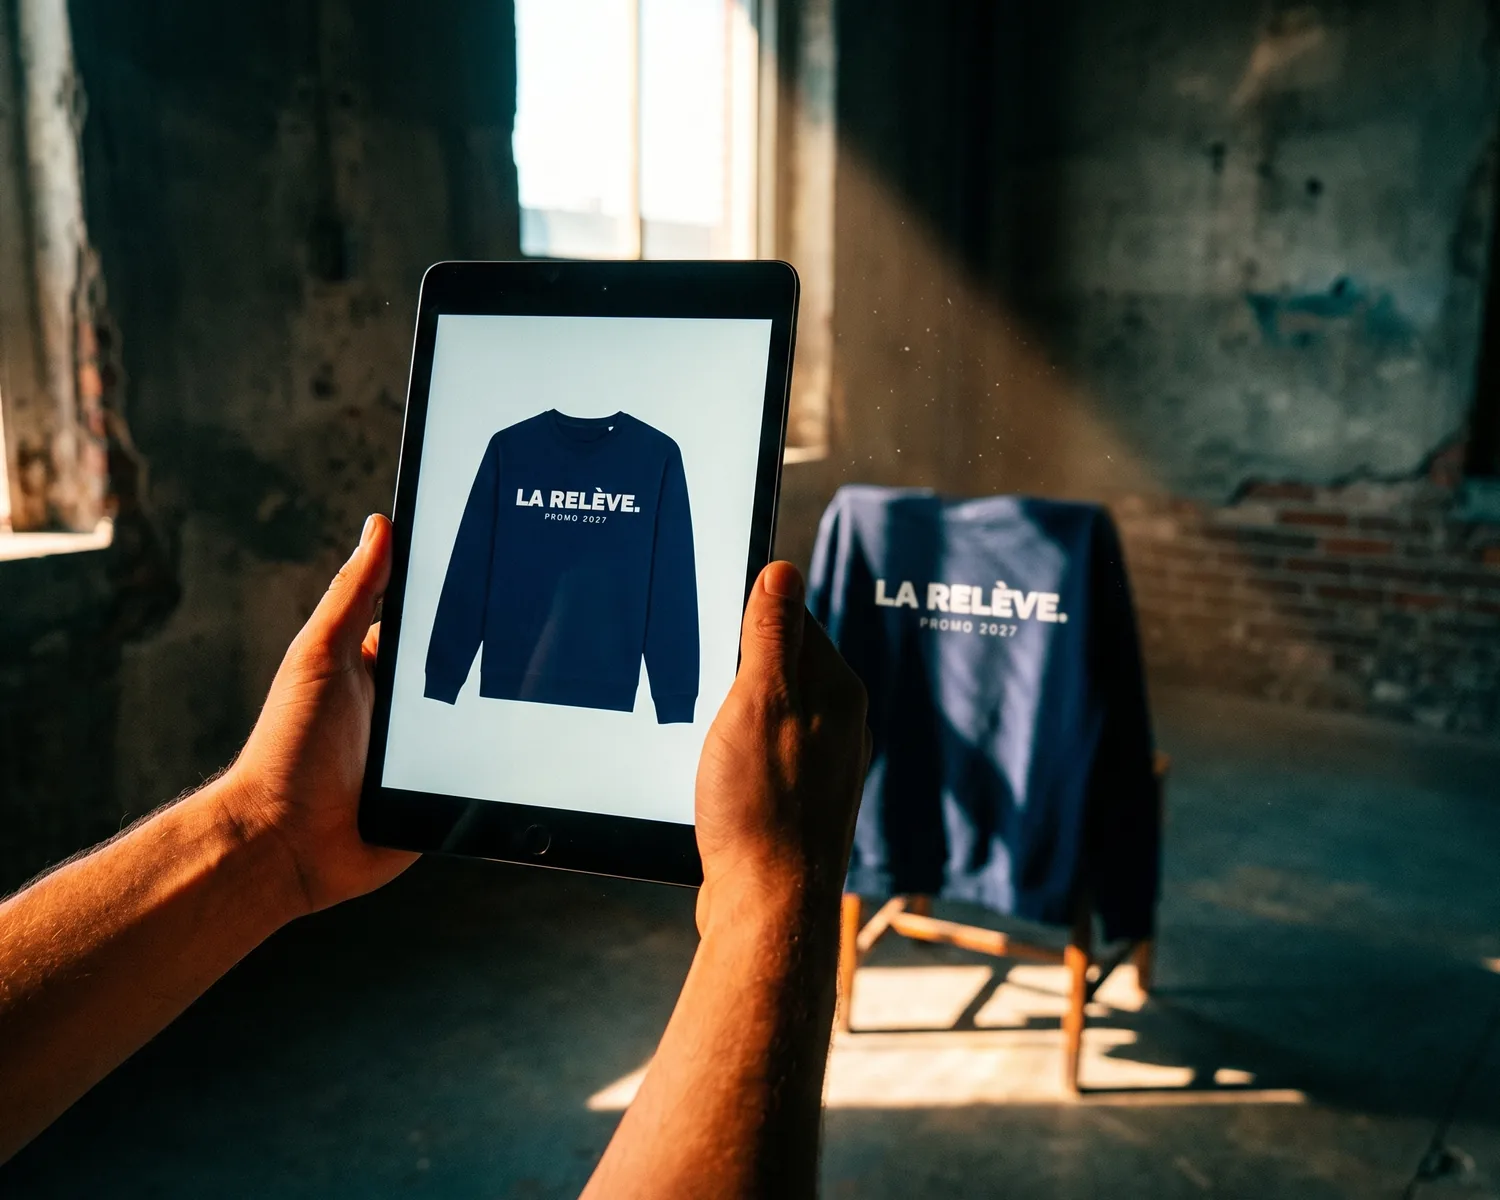
The print proof, called BAT ("bon à tirer", literally "good to print") in French, is the final preview of a printed order that the customer approves before production starts. For a custom t-shirt, it shows the garment and its colour, the logo with its size and position, and the decoration technique: once the proof is approved, the run is made exactly as shown.
The term comes from printing, where the "bon à tirer" gives the go-ahead to run the copies on the press. In textiles, it plays the same role: it is the last chance to fix a mistake before it is reproduced on every sweatshirt or t-shirt in your merch.
What a t-shirt print proof shows
A t-shirt print proof brings every decision of the order together in a single view: by approving it, you approve each of them at once.
| On the proof | What to read |
|---|---|
| The garment | the right model, the right cut (men's, women's, unisex) and the right colour |
| The logo | the right version, the exact text, the right colours |
| The dimensions | the width and height of the logo, in centimetres |
| The position | chest, centre, back or sleeve, and the height on the garment |
| The technique | screen printing, DTF transfer or embroidery |
The proof at tknp.io: online, almost instant
At tknp.io, the proof doesn't involve back-and-forth emails: it arrives directly online, almost instantly. The steps before it, from the logo file to setting it on the garment, are described one by one in customising a t-shirt. Because the proof arrives quickly, take the time to read it: here are the seven checks to make before approving it.
The 7 checks to make on the proof
1. A typo on the proof
On a proof, read every name, date and accent as if you had never seen them: an extra letter in a class name or a wrong year will be printed on the whole run. We read what we think we wrote, especially a text we typed ourselves.
The method that works: read the text aloud, spelling out proper names, then have the proof read by someone who didn't write the text. Finally, compare the proof with your source, the official class list or the association's registered name, rather than with your memory.
2. A logo without enough contrast
On the proof, look at the logo on the colour of the chosen garment, never on a white background: navy on a black sweatshirt or pale yellow on a cream t-shirt is barely readable once worn. Contrast is judged the way someone will see it in the street, a few metres away.
If your logo comes in a light and a dark version, check that the right one has been placed on each garment colour in the order. Our guide to the student union logo covers choosing the version for the sweatshirt colour.
3. A logo too big, too small or hard to read
On the proof, read the logo's dimensions in centimetres and ask whether they suit the chosen position: a chest logo and a large back print don't have the same measurements. A preview on screen, often seen small on a phone, is misleading about the real size.
Also check that the smallest text in the logo stays readable at that size: a motto or a date in small type can become illegible once reduced to chest size. Benchmarks by position are in our guide to logo placement.
4. A poor-quality file
On the proof, look closely at the edges of the logo: if they look fuzzy, jagged or blurred, the file you sent isn't precise enough for a sharp print. The flaw almost always comes from an image taken from a website or social network, too small to be enlarged.
It is better to replace the file before approving than to discover the flaw on the finished run: ask the person who created the logo for the original file, or see which file to provide and who vectorises it.
5. A technique that doesn't suit the logo
On the proof, the decoration technique shown must match the logo: embroidery, for instance, handles small text and gradients poorly, which then call for a simplified logo or a print. The tknp.io page embroidery or print compares techniques on these points.
Also check that the technique suits the garment: our comparison of flex and screen printing explains why we recommend screen printing from about twenty t-shirts and DTF transfer for small runs.
6. A proof approved too late for the date
A proof approved a few days before your event comes too late: the run doesn't go into production until the proof is approved. Set yourself an approval deadline by counting back from the day the garments must be worn: production takes two weeks at the standard lead time.
7. Forgotten quantities or cuts
When approving the proof, also check the order that goes with it: do the quantities per size match what the team asked for, and is the women's cut planned for those who want it? A forgotten size can't be fixed without a new order.
Our method to collect sizes avoids spreadsheets that contradict each other and sizes guessed at the last minute.
The proof for a pre-sale on the Store
For a pre-sale on the tknp.io Store, read the proof with the fallback techniques in mind too: a garment that doesn't reach its threshold can be made in another technique at the same price (what happens below the threshold). So check that your logo also works in DTF transfer and in embroidery, especially if it contains small text.
Seeing a real garment before approving
The proof shows the print, not the feel of the fabric or the fall of the cut. To judge those, first order a blank garment: at tknp.io, blank garments can be ordered from a single unit, while decorated garments are ordered in at least 10 per model. You then approve the run's proof knowing the real fabric and size.
Who approves the proof?
The person in charge of the order approves the proof, after someone else has read it: for example the student union president, checked by the communications vice-president, or the office manager, checked by the communications team. In a company, add the person who has the final say on the brand image, before approval rather than after.
After the proof: lead time and delivery
Once the proof is approved, the run goes into production. At tknp.io, product page prices are calculated for a standard production time of two weeks; a one-week lead time costs 10% more, a four-week lead time 5% less, and the basket gives the estimated delivery date before you pay. Starting early therefore leaves you the choice of the cheapest lead time.
The proof checklist
- The right model, cut and garment colour.
- Every name, date and accent read aloud and compared with the source.
- The logo in the right version, readable on the garment colour.
- The logo's dimensions in centimetres, suited to the position.
- Sharp edges, with no blur.
- A technique suited to the logo and the garment.
- Quantities per size and per cut.
- Approval early enough to meet the date.
Frequently asked questions
What happens if an approved proof contains a mistake?
The approved proof is the reference for production: a mistake that was on it will be reproduced across the whole run. That is why it should be read carefully before it is approved.
How long does it take to get a proof at tknp.io?
At tknp.io, the proof arrives online, almost instantly, instead of back-and-forth emails. The run goes into production once the proof is approved.
What is the difference between a quote and a proof?
The quote sets the price and quantities, the proof sets the design as it will be made. You accept the first to commit to a budget, and approve the second to start production.
Your project, quoted within 24 hours.
Describe your garments, your decoration and your quantities: you receive a detailed quote, decoration included, within one business day.